How to Make Apple Cider Vinegar at Home: A Two-Stage Ferment
Published How we research
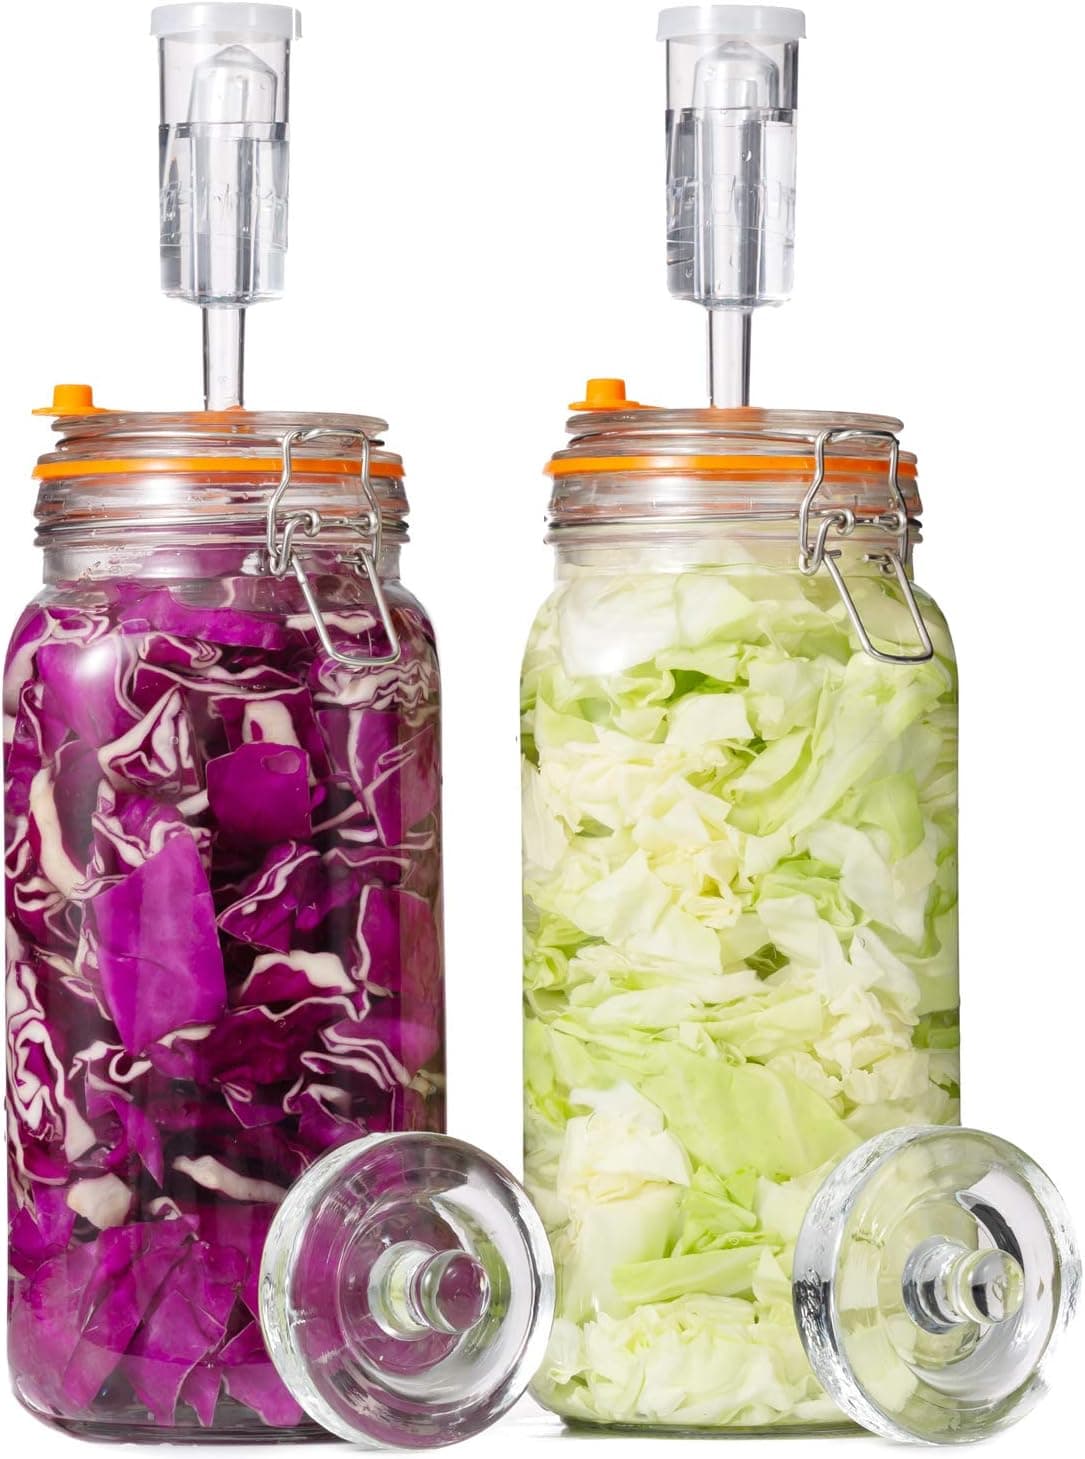
Homemade apple cider vinegar comes from two linked fermentations. First, yeast turns the sugar in apple juice or scraps into alcohol. Then acetic acid bacteria, which need oxygen, turn that alcohol into acetic acid, the compound that makes vinegar sour. You can start with apple scraps and sugar water or with fresh unpasteurized cider, and the process takes a few weeks to a few months. This guide explains both stages, what equipment you need, what the cloudy mother is, how to tell when it is ready, and how to bottle and use it safely.
Products from this article
The highest-scoring picks from the buying guides this article links to. Scores are our editorial assessment, not customer ratings.
+ Clear glass lets you check brine level and color without opening the jar
From our guide: Best Fermentation Jars
+ Easy grip design lets you lift the weight out without fishing with fingers
From our guide: Best Fermentation Weights
+ Swiss Spear pH Electrode pierces cheese, meat and firm vegetables
From our guide: The Best pH Meters for Fermentation
+ Double Rod frame keeps the mesh rigid when straining heavy yogurt
From our guide: The Best Fine Mesh Strainers for Fermentation
How vinegar is made
Vinegar is the product of an alcohol fermentation followed by an oxidation. In the first stage, which takes place with little air contact, yeast consumes sugars and makes alcohol and carbon dioxide. This is essentially hard cider. In the second stage, Acetobacter and related bacteria use oxygen to convert the alcohol into acetic acid, giving vinegar its tang.
That second stage is why you leave the jar open to the air under a breathable cover. Good airflow and a warm, stable temperature help the bacteria. Most vinegar makers aim for a room that stays somewhere around the 70s Fahrenheit, away from direct sunlight. Cooler spots slow the process, and very hot spots may harm the cultures.
Two ways to start
The scrap method uses cores and peels from organic apples, ideally from a trusted source. Place them in a clean glass jar, add a sugar water mix of about a tablespoon of sugar per cup of water so the scraps are fully covered, and weigh them down so they stay submerged. Cover the jar with a cloth and leave it for around one to two weeks until it smells boozy and bubbly, then strain out the solids.
The juice method starts with fresh, unpasteurized cider that contains no preservatives, since preservatives like sorbate prevent the yeast from working. Store-bought pasteurized juice can also work if you add a bit of a starter, such as raw vinegar with a mother, but results vary. Our fermentation jar and weight guides help you choose a vessel and keep scraps below the liquid surface.
The second stage: turning alcohol into vinegar
After straining, pour the liquid into a clean wide-mouth jar, filling it to no more than about three quarters so there is plenty of surface area for air. Cover with a tightly woven cloth or paper coffee filter secured with a rubber band to keep insects out. Leave it undisturbed and stir only if you must.
Over the following weeks a thin film forms on the surface, followed by a thicker cellulose layer that is called the mother. Taste a small sample after about three to four weeks. Vinegar can take anywhere from one to three months or longer, depending on the temperature and the amount of oxygen. It is ready when the flavor is clearly sour and the sweetness is gone.
What the mother is
The mother is a mass of cellulose and bacteria that forms at the surface or sinks into cloudy strands. It looks gelatinous, like a pale pancake or stringy sediment, and it is a sign of an active vinegar culture. You can use a piece of it, along with some finished vinegar, to start the next batch faster. Adding some raw, unpasteurized vinegar at the start also helps give the bacteria a head start.
A mother is often confused with mold. Mold is fuzzy, dry and colored, usually raised above the surface, while the mother is smooth, slick and fused with the liquid. If you see true mold, discard the batch.
Checking acidity and safety
Taste and smell are the usual guides, but a pH meter or strips give a more objective reading. Commercial vinegars are commonly standardized around 5 percent acidity, and homemade versions vary, so do not use them as a replacement in canning recipes that rely on a specific acidity. Home vinegar is for flavoring, dressings and cooking rather than safe preservation unless tested.
Use clean glass or food-grade containers, and avoid metal lids or reactive metals that touch the acid. Do not use ceramic with unknown glazes. Discard anything with fuzzy mold or a rotten smell. Our pH meter guide for fermenting can help you track the acidity in more detail. Undiluted vinegar can irritate the throat and teeth, so dilute it when drinking and consult a doctor if you have any health concerns.
Bottling and storing your vinegar
When the vinegar tastes right, strain it through a fine mesh strainer or cloth and pour it into clean bottles or jars. Keep a few tablespoons and a piece of the mother in a separate jar to start the next batch. Funnels and fine strainers make this much tidier, and our fine mesh strainer guide compares some good choices.
Bottled vinegar can be stored at room temperature in a cool, dark place. Some bottles of unpasteurized vinegar develop a new cloudy mother over time, which is harmless. Some makers gently heat the finished vinegar to stop further changes, but this also reduces live cultures. Label bottles with the date and starting material so you can follow how each batch evolved.
Common problems
If nothing seems to happen, the room may be too cold or the juice may contain preservatives. If fruit flies are a nuisance, use a tighter weave, such as a paper filter. If the liquid smells like nail polish remover, the bacteria may still be working, and extra time and air often help. A harsh vinegar smell with no mold is usually a good sign.
Be patient and keep your first attempts modest in size. Making vinegar is a slow process, and each batch teaches you something about your kitchen conditions. Once you have a mother going, later batches become faster and more reliable.
Popular right now
- Brine Pickles or Vinegar PicklesArticle
- Water Quality and Chlorine in Home FermentationArticle
- The Best Vacuum Seal Bags for FermentationBuying guide
- Backslopping explainedGlossary
- Best Koji Starter SporesBuying guide
- Fermentation TemperatureArticle
Based on the last 28 days of search and visitor data.